Saturday, July 19, 2014

That time we tried to turn our pool into an infinity pool

And other bedtime stories. Kind of. First, let's start with a picture from a couple of weekends ago of the Wood River, our favorite canoe trip. Gorgeous day, hot and sunny with perfectly clear water. Super fun time with Alyssa and Mike.
Next, I finally finished our master bedroom headboard that I started last summer. It was pretty much finished, but the screws and washers in the tuft holes (technical term) were still visible.
 
They don't really look very obvious until you compare to the "after"...
And now, the part where we address the title of this post. We kind of left the faucet running on the pool all afternoon. Until 8:30. 
When I went out and discovered this water totally overflowing out of this filter thing, into and under the pool shack and out into the garden. 
Next! We're having the roof done. This is not a very fun way to spend a very lot of money, but we had perhaps another year or so before it really needed it, and we figured it'd be better to get it done before things start leaking (like our garage did during an extended spring rainstorm).
Thought it was kind of funny the guys left all their stuff on the roof to come back tomorrow. Water, nail guns, etc.
They also left their truck in the front yard. Now that we don't look like total bumpkins all the time, it's more amusing to do it occasionally.
Oh, right...here's the reason the dang thing was so expensive. That's one of the layers of old shake roof. Under which there was no plywood. Do you hear that noise? That's the cash register, adding zeros. Ka-ching, ka-ching...

Wednesday, July 2, 2014

Pool shack, patio projects and curtains

It's that time of year...the time when I turn my attentions outside and start doing all sorts of outside projects. Like spray painting pineapples on outdoor end tables. These turned out pretty well, although my stencil work was kind of sloppy. Sharp edges are hard :/
On my time off last week I built this table for the pool shack. I adore my Kreg Jig. The top and shelf are "salvaged" cedar. Does it count as salvaged if your neighbors call and offer you their old fence and pile it in your garden utility area and you use it several years later? I say yes.
I was on the fence (heh) about whether to stain it or just leave it natural and opted for the later for now. Can always go for stain later if I want. Pressure treated legs should last a good long time.
 So now this is what it looks like...
 Pretty good from where it started before I cleaned and vacuumed and cute-d it up! The pool shack is much less "scary" than it was before. (My dad referred to it as scary. Fair enough. There were a lot of spiders.)
Additionally, I added some additional fabric to the curtains my mom made for our Pasadena apartment years ago. They're the striped part on top. I also re-hung the rod so it's closer to the ceiling. Additional height really opens up the room.
The fabric is what I upholstered the ottoman with. It doesn't really look all that great in the pictures, but the extra seam isn't noticeable in person and they're much more billowy and full looking. It ended up being a bit of a time-consuming project, which involved an unplanned visit to Joann's for thread, but I'm glad it's now done and the curtains are back in place.
 Lastly, tune in next time for what I did to this table (it was much less pleasant in real life than this picture might lead one to believe).

Thursday, June 5, 2014

Pool shack rehab

How cute is the pool shack these days with the lights?
The "chalkboard" (old door from the attic access off the guest room) has a line from Tip It Back by Florida Georgia Line. Still a bunch of pool-ish clutter around, but the pool itself is almost cleaned up. Todd's worked so much on getting it spiffy. Sparkling and clear!
Please note massive haul of cherries (this is perhaps half) and knife magnet that I successfully installed a couple weeks ago. Drilling through tile is STUPID and the two holes took me 30+ minutes each to drill. Like I said, stupid. I am, however, thankful that I didn't break any tiles and the knife magnet hasn't fallen off. 


Monday, June 2, 2014

Hardware and cherries

Trash dresser's cousin got hardware installed last weekend, and I love it.
 It's kind of a blocky, modernish shape. Dark finish. The best part is opening and closing drawers and how much easier it is with a handle. Also, lesson learned, when you're filling holes in furniture, use wood filler and not caulk. Four coats of caulk in and the holes from the previous hardware were still visible. Wood filler dealt with them in one swipe.
Todd's dad came and tilled the weed forest garden a couple weeks ago too. We planted annual rye grass in the non-bedded section and won't be growing much this year, other than a few determined dahlias that sprouted again after two years of not being dug up and split. Five tomato plants are in the bed and two basils are in the back entry waiting to be planted. 
 You remember our plumbing project? And how I said our pipes were made of concrete? Welp, that's one of the pipes. You know what pipes aren't supposed to have? HOLES. That is like Swiss cheese pipe. Glad this project is drawing to a close.
 This is from Friday night at the farm/winery just up the street from our house. 7 minute walk, perhaps. I will be probably blabbing more about them in the coming weeks. Perfect place to spend a Friday evening.
 Our first round of fruit ripened earlier this week: the cherries. It was a lot of work keeping the birds out of my cherry trees this year, but mission accomplished. We netted the trees and then I put some stuffed animals out (rabbit, lobster and bear) to deter would-be thieving birds from making off with the goods.
 Of which there were many. Last year I saw the green cherries, and then a few weeks later went out to check on them and there was no trace of any cherries at all. I was later told that birds will clear the tree within a day if certain measures aren't taken to fend them off. This year, said measures were taken and we filled two huge mixing bowls with our spoils, and they are yummy.
 Sadly, we lost one of the apple trees (Todd's Red Delicious) from last year. Kind of weird because they should have been established, but anyway... My Macintosh has a pretty lot of apples on it, which is the first year we'll be getting fruit from it. Only one of the peaches has peachlets on it right now, but one tree full of peaches is better than zero trees full of peaches, so I'll take it.


Thursday, May 15, 2014

Kitchen Backsplash + Trash Dresser's Cousin

Trevor was finally able to get the kitchen backsplash in over the last few weekends. 
 White subway tile and white grout.
 We were a little concerned that the white wouldn't look quite right with the off-white cabinets, but it's fine.
 At least, it's not bothering me. I can't believe how much it snazzes up the kitchen. I knew it'd be nice to have it done, but I didn't realize how much of a difference it'd make.
 AND! Acquisition from a couple weekends ago: a hideous free dresser off CL. It is uncannily similar to "trash dresser," a dresser I saw in the trash on my way to work a few years ago and drove around the block to collect. I stuffed it in the back of my car, where it remained for a few weeks because we had nowhere to store it. (We were still living in the studio in Bend before moving to the Fishhawk house.)

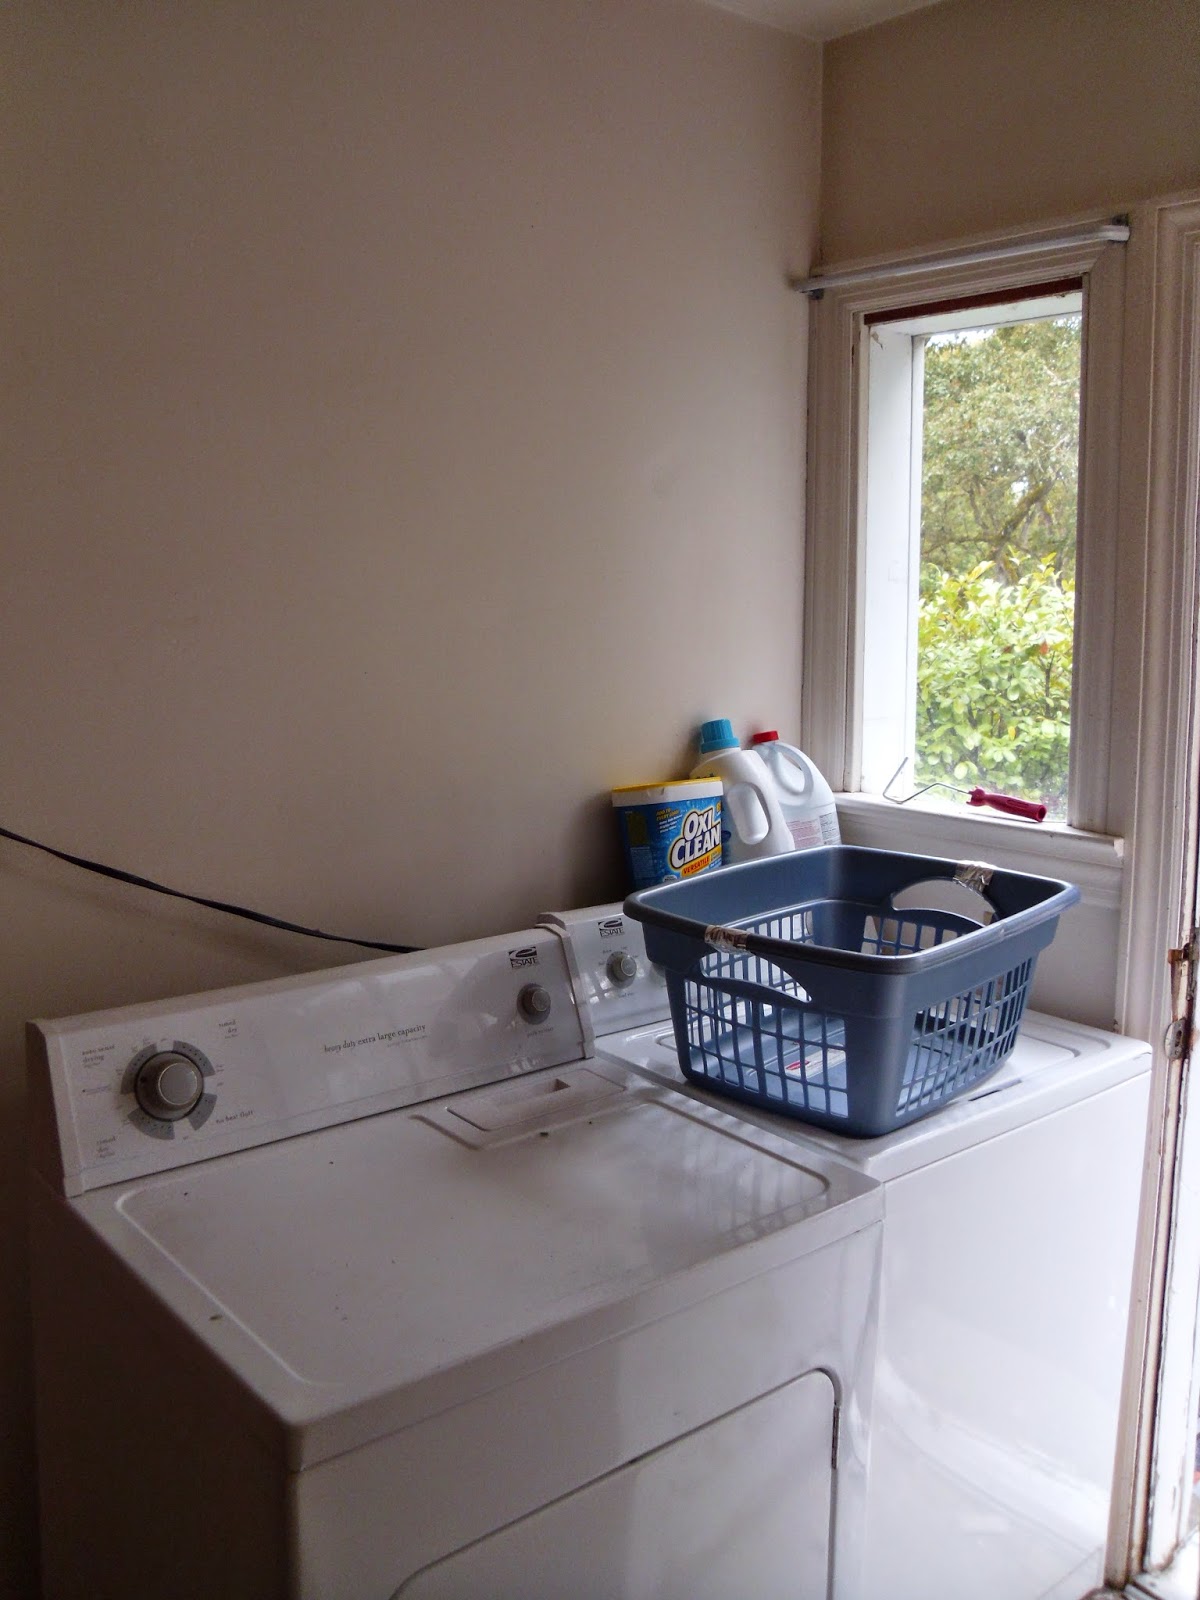
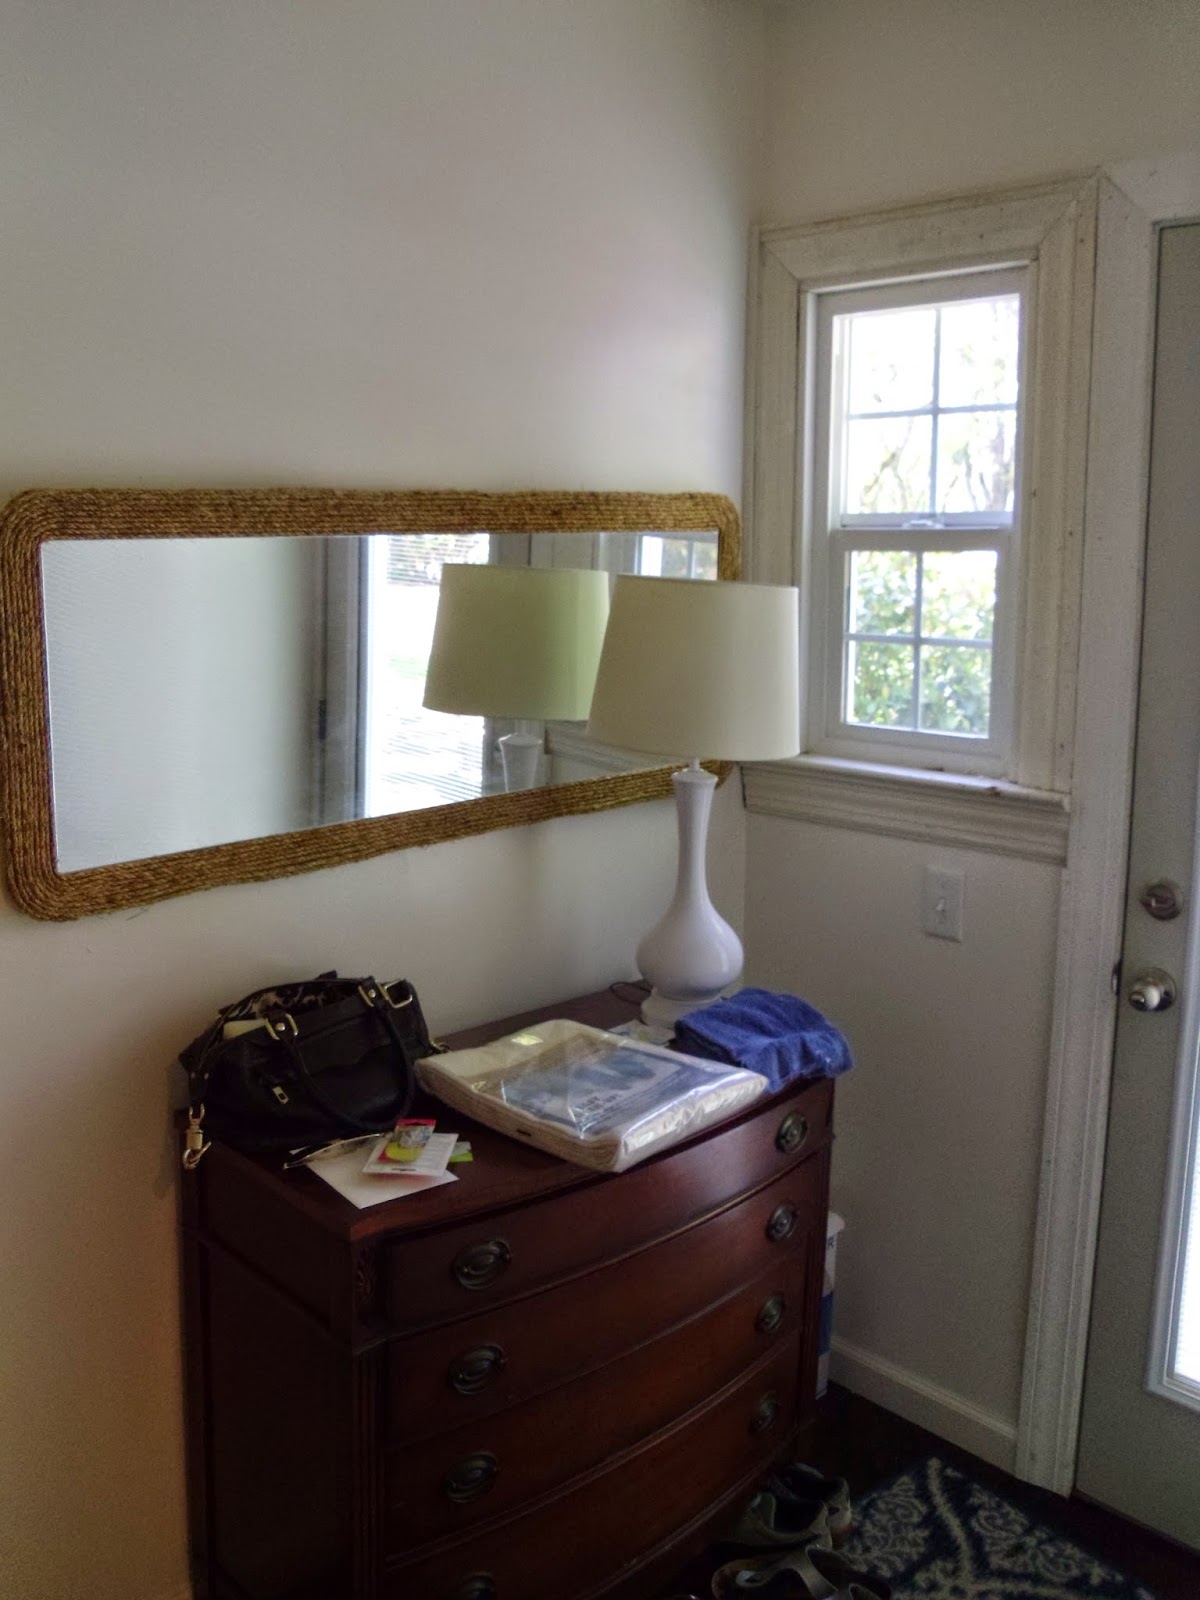
Anyway, still waiting for the hardware for this one to arrive: an oil-rubbed bronze modernish style. I rehabbed it a couple weekends ago and went with the same painted bottom, stained top approach as the one that's in the dining room. I figured it looked good, so why reinvent the wheel? This fits in the laundry room way better than the other one and provides a lot more storage and surface area. All our shoes are in the bottom four drawers, so no more tripping over shoe piles. Love it.
 Trevor also cut slate and installed the backsplash in the upstairs bathroom. Great to have that finished and checked off the list. It looks fantastic. I love how that bathroom came out.

Sunday, April 20, 2014

Doors upstairs, etc.

I remembered that I don't think I ever noted the doors are on the guest room, guest room attic access and upstairs bathroom. Still no hardware, which its own pickle because all the hardware in the house is antique and the holes back then in doors were apparently much smaller than they are now. So everything is too tiny for the door holes, even though I went to the trouble of salvaging everything.

One day a few months ago, I was sitting on our pile of mattresses that was in the storage unit guest room, eyeballing this opening. (It was before the 2x4 was across the top, so it was just a funny-shaped hole. I was trying to figure out if I should order a giant-sized custom cabinet door and figure out how to affix it to the opening to cover our lovely storage area. (Actually it is lovely, compared to how it was. It's all drywalled and insulated and non-spidery. But that's not really the point.)

In the course of my eyeballing, I noticed it seemed to be rather wide. Like, normal-door wide. This sparked an idea. What about a real door? So I leapt up at a speed usually reserved for when I'm motivated by chocolate or alcohol and snatched the nearest tape measure. In our house, that's usually within about five feet. I think they breed in the closets when we're not home or something; I have no idea how we have so many. Anyway, a quick measure indicated that the opening was 28 inches, which I was pretty sure was a standard door size.
Lo and behold, it mostly was!! Now usually you have a rough opening of X and a door that is X-2". This, however, would have meant a bit of a tight squeeze and I didn't want to lose out on as much door width as I could get, so I just went ahead and jammed a 28" door into the 28 and 1/16" opening (or whatever it was. There was a decent amount of violent hammering involved to get that thing into place.)
This was after I sawed off the bottom 30 inches so it was short enough. I won't say it's the prettiest door hanging job, but for my first try, I can say that 1) it opens, 2) it closes and 3) it doesn't even really scrape the floor despite being so close to it. I call it a success. Plus, SUPER cheap. I bought the cheapest door Lowe's had with intentions of trimming it out so it's a bit shaker looking and matches the other doors.

The triangle gap above has already been patched and partially mudded, so that's going away soon too. As for a door handle, I put a little magnet closure thing in and have a plain cabinet pull I'm going to install. There's not really a need for a knob, and obviously the hole is dysfunctionally low.
 Ah, the door on the guest room. Yay!
 And on the bathroom, from the inside. They look pretty good! A little bit of trim will help them almost perfectly blend with the original doors of the house.


Thursday, April 17, 2014

Kitchen Befores and Afters

So to be fair, the kitchen is not yet finished. In fact, relatively little progress has been made on the detail work I mentioned a few months ago. I've done some priming, but there's still caulking, sanding, more priming and plenty of painting yet to do. Although I have to say, using the same color on the trim as the walls seriously cuts down on time for painting.

In any case, I was poking through iPhoto trying to find a picture of my credit card because I was in the process of ordering a watercolor print of this squirrel drinking whiskey and was too lazy to get up and get my credit card. In the process, I ran across a number of pre-remodel kitchen pictures and was reminded that I never actually did a true before and after post of the kitchen.

Behold: the chaos, the dysfunction, the grime of our old kitchen. (I feel like it still hasn't been long enough for me to be able to look at these photos. It's kind of making my skin crawl.)


I can barely look at this without gagging. UGH.


I think these totally speak for themselves. Still work in progress, but still.

Additional happy news: our backsplash may go in as early as this week! It's 2"x4" white subway tile and we decided on aggressively sealed white grout. Todd held up a sheet of it (it comes in pre-set sheets) and I think it's going to look amazing. So there'll be more pictures of that coming someday soon.