Monday, June 29, 2015

Concrete Projects and This Year's Container Gardening

I pinned a picture of a concrete bowl full of succulents years ago and then on our California trip a few weeks ago remembered it was a project I wanted to try. So I read some tutorials online, bought a bag of concrete from Home Depot and some bowls from the dollar store and went to work last weekend.

I broke my first bowl almost immediately because I didn't let it cure, but it wasn't that good to begin with. The second one, I allowed to cure in a garbage bag for almost a week. It was a major exercise in patience. I also broke a vase right away too. Turns out the molds are a lot easier to remove once the piece is dry, instead of trying (unsuccessfully) to pry it out while the whole thing is wet. The great part here is concrete is dirt cheap and easy to experiment with.
So that's what I ended up with, using the bowl in the picture below and another bowl inside of it (not pictured). The waterbottle was the inside mold of my broken vase project.
And here's my little succulent garden. I'm really, really hoping I can keep it alive, because succulents aren't exactly cheap. Also, I love how it came together and would like to enjoy it all summer.
I'm looking forward to continuing to refine my concrete skills. For the successful bowl, I removed all the rocks from the concrete using a strainer, so it was easier to mold. I'll be doing that in the future, and I'm also going to see if there's a rock-less premade mix. I'm betting there is. 

Here's part of this year's container gardens, featuring celosia, ageratum and a sweet potato vine (and my all-time favorite pot I've ever bought, the blue-willow-style one).
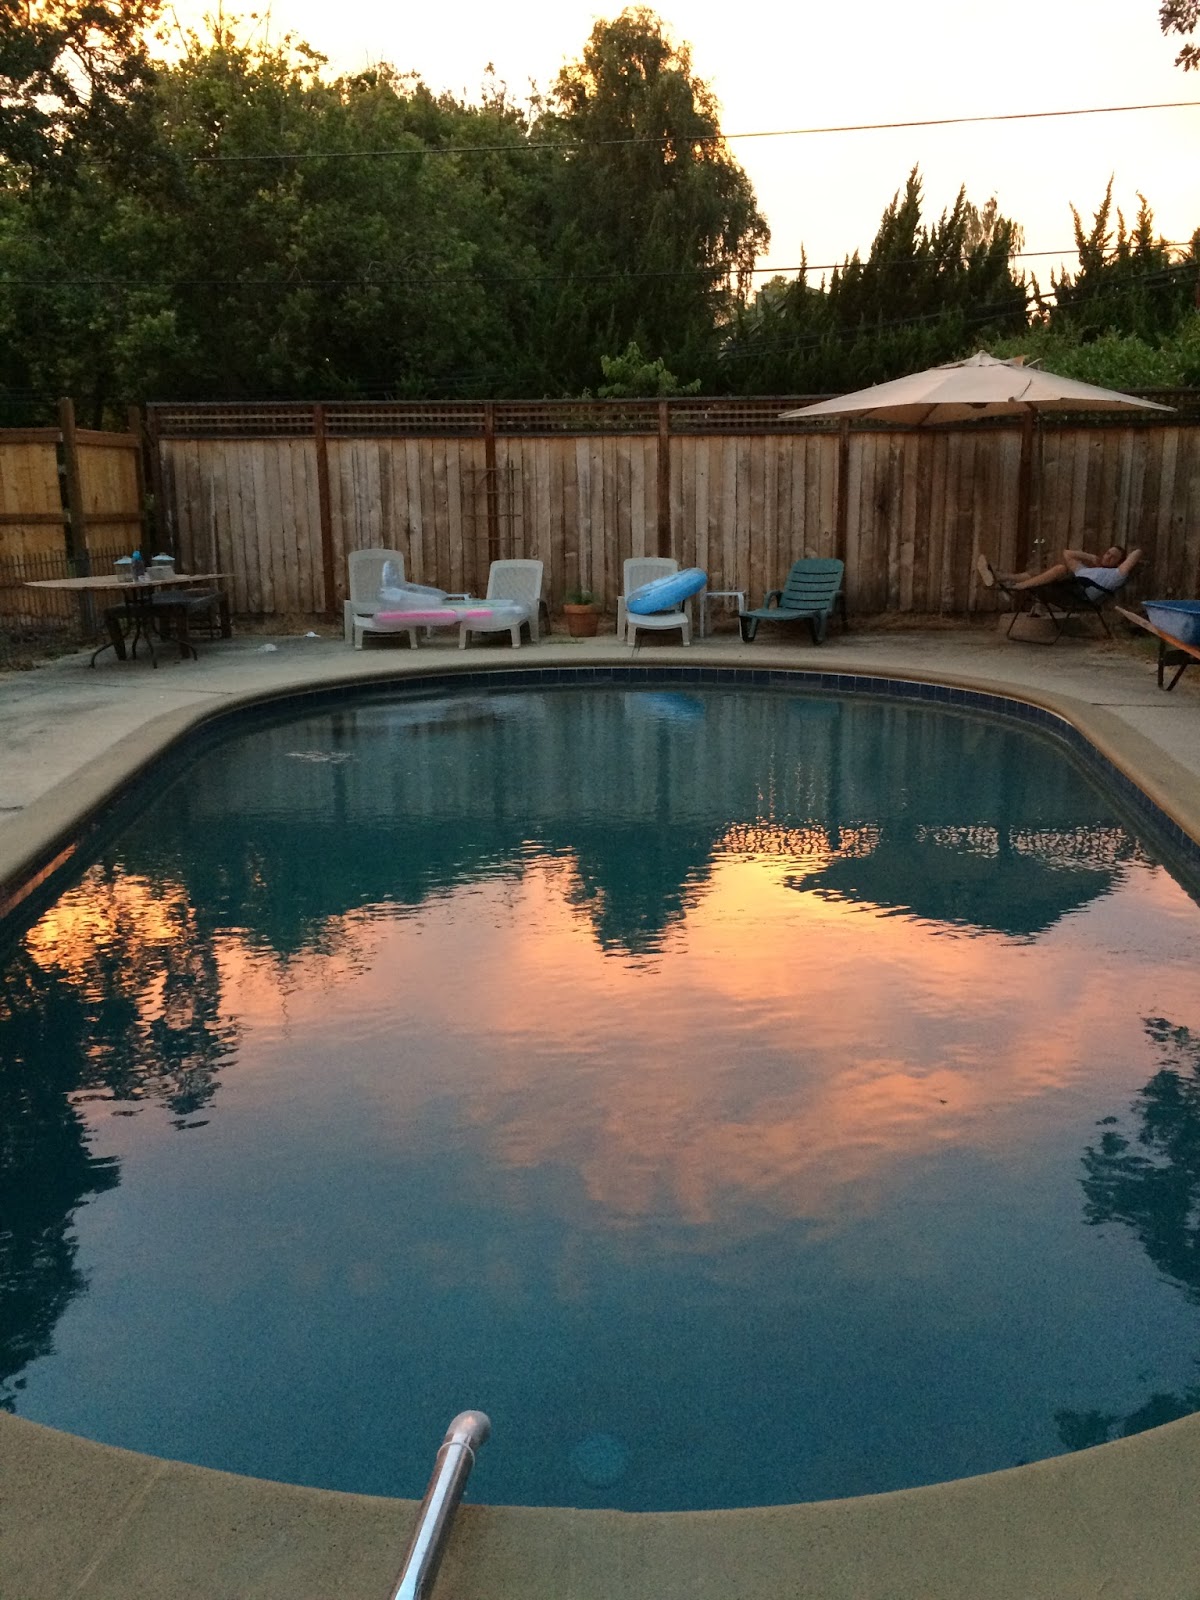
Lastly, I couldn't not share this sunset over my new lagoon pool. And check out our craigslisted offset umbrella! 


Sunday, June 28, 2015

The Pool Is Open!

It seems fitting that on this, my 150th post for the blog, there should be a momentous announcement. And there is: THE POOL IS FINISHED!!!
Last week, there was a flurry of activity on Tuesday and Wednesday, and the finish went on. That didn't really take long at all.
Then we started filling. We didn't run the hose overnight Thursday because we didn't want to accidentally flood the pool, so it ran from Thursday morning until it was full on Saturday morning.
 Close shot of the steps and the pebbly finish.
 Full :D and freezing. We think it looks like the Wood River (a spring-fed river near Klamath), and it still kind of feels like it, too.
For reference, here is the Wood River...
Maybe not quite so green. But still... you get the idea. 

So, for your viewing pleasure, here is the progression of the pool.
 Before. Ever so slightly worse than what we started with six and a half years ago, but...barely.
 Coping stained.
 Bond coat applied.
 Pebble Tec applied.
DONE!!!

Sunday, June 14, 2015

A Master Bedroom Update

I've been working on pulling the master bedroom together according to the plan I created a few months ago. I've gone so slow with this that it doesn't seem like much ground has been covered, but looking at these pictures I realize I've knocked out probably 75% of what I want to accomplish.
Here's what's new:
  • Rast hacked nightstands. I'll have to get a better picture of those when it's not late afternoon. I LOOOVE having drawers instead of a cluttery trunk top. The bottom one is just storing shoes right now.
  • Closet curtains. The rug placement makes it hard to get them the right length. They're fine for now. 
  • New quilt, Freddy's special
  • Pineapple lamps with new shades that I made
  • Faux fur pillow cover. An Ikea "tejn" -- the $12 fake one, safety-pinned around the bolster pillow. Kind of ghetto, but it's getting the job done.
Still to be finished: art and figuring out how to make those euroshams silver. And I need to rewire Todd's pineapple lamp, because it doesn't work. Good progress. I'm really liking all the changes and think some new art and bright accessories will be the perfect finish.
But the new nightstands look pretty good, and I love that pop of pink and bit of sparkle in the candles. I mean, pink and sparkle while anchored with blue and white? What's not to love?


Sunday, June 7, 2015

The Pool, Sprinklers and Miscellaneous Updates

...probably heavier on the miscellaneous updates part. Anyway, let's go in order...

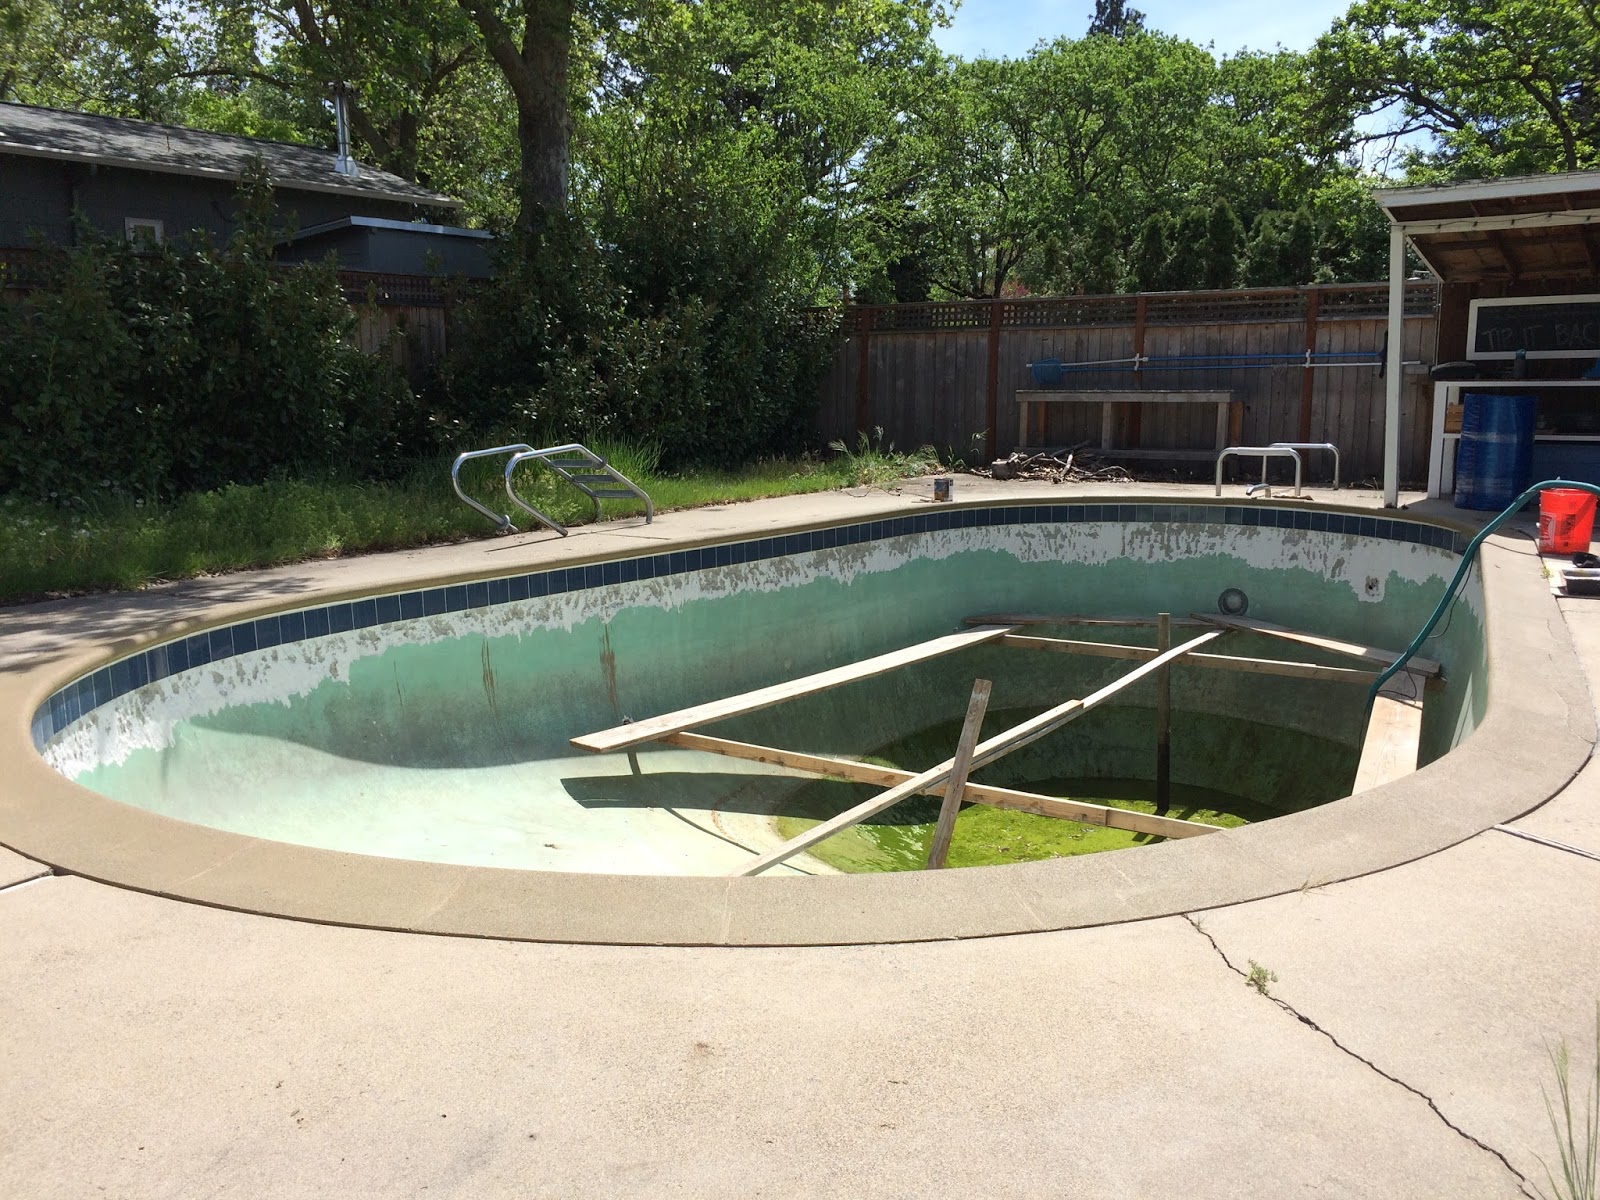
Here's what the pool looked like when we left last Saturday for a week. I'll spare you the algae soup shot of the bottom.
We returned last night to find this, which is the plaster bond coat before the Pebble Tec goes on. I know it's not terribly exciting, but it gives just the vaguest hint at how this whole area is going to be transformed from a ratty, stained, pink-rimmed, algae-ridden antique into a great modern space. I can't tell how fancy it might look, but at a minimum it'll be simple and clean, and I'd happily take that.   
Next, we have sprinkler liftoff!!!I realized this afternoon that this meant I could actually plant a ton of blackeyed susan seeds and they would grow, because they were watered on a timer and didn't depend on me to help them turn into little plantlets. I am not very reliable with watering.
And now, miscellaneous updates. Seriously, the iPhone panorama shot knocks my socks off (or would, if it wasn't 99 degrees outside, and I was wearing socks). This is from last Sunday at the top of Twin Peaks in San Francisco, where we visited my very oldest friend Laura, her husband Zack and their Yorkie Artie for a few days. They took us on a tour of the city and this was our first stop.
 Next picture stop, Sutro Baths. Hi :)
And a gorgeous, clear afternoon on Monday; this is the view from their super cute apartment. 
Tuesday morning, we packed up the Q and headed south. We took the 101 for a change of pace. Neither of us can count how many times we've done I-5, a route most noted for its incredible boringness, so the 101's more varied landscape was a welcome change of pace. Tuesday we landed in Glendora, half a second where we went to college, and caught up with some friends (one of whom we were there for meetings with, since this was actually a very productive business trip we were on). Cue quintessential California palm tree shot...
And a few housey things... I enjoyed an afternoon by myself poking through Old Town Pasadena and nearby stores and found some fun ideas to bring home. Like these lanterns, which I'm totally going to make myself. I found a tutorial on someone's blog a while back and decided it'd be a worthwhile project. Fun additions to the pool shack area.
I also found myself enchanted by this fountain. I want to make one, or buy one...HAVE one. I also wanted to sit in it, because it was a bit warm and it looks like an amazing natural bathtub. You can't quite tell in that picture, but the water spills down the sides and into the rock bed below; it's like a zero-edge swimming pool. UGH. Want.
I was also kind of taken by all the succulents everywhere. I think I'm going to do a bowl of them out by the pool, where I unceremoniously murdered a fern last year. Few plants can be so visually fascinating, with all the textural variation.
Then, we went home. By the time we'd been in the car for 8 hours, I was feeling a bit antsy and convinced Todd to stop at the Olive Pit in Corning, CA (olive country), which we'd driven past a zillion times. I enjoyed sampling a wide variety of offerings and wished they'd had a few varieties of Castelvetrano olives, which are my favorite. (BTW, how amazing is my pineappleologist hat? Amazing. Bday present from Todd.)
And lastly, no trip to California is complete without a stop at In N Out. This may have been my third stop at In N Out (I also had Chic-Fil-A twice ❤️ and it was spectacular.)
Oh, wait, one more thing. I bought a mug at Anthro to commemorate my trip, because I like having an assortment of mugs to pick from and tying them to specific memories.
Obviously, blue, white and yellow is kind of my jam, but I think what sold me is that bright coral color inside. I love that color, but I don't think I really wear it that well. Looking at it elsewhere is the next best thing.
So, LA, you weren't nearly as terrible as I remembered. Here's something I never thought I'd say: looking forward to the next trip back. (Gasp.)

Saturday, May 9, 2015

Side Driveway Entry Facelift

Last weekend I knocked another item off my list: cleaned, sanded and painted the side driveway entry railings. Despite what the image would have you believe, they actually weren't that rusty. No, my friend, someone, somewhere in the 70-year history of this house not only hatched the idea to paint these railings orange but actually acted on it. Not that many things about this house leave me befuddled anymore, but this did. Seriously, WTF. An orange wrought iron railing?
So obviously, it looked delightful. There was some rust, some orange, and mostly a lot of chalky old black. And some moss on the steps that I sprayed off with the hose.
Knowing that spray paint was absolutely the way to go for this project, I prepped the living daylights out of the side of the house and the steps. Black spray paint next to a white house is not the time to mess around.
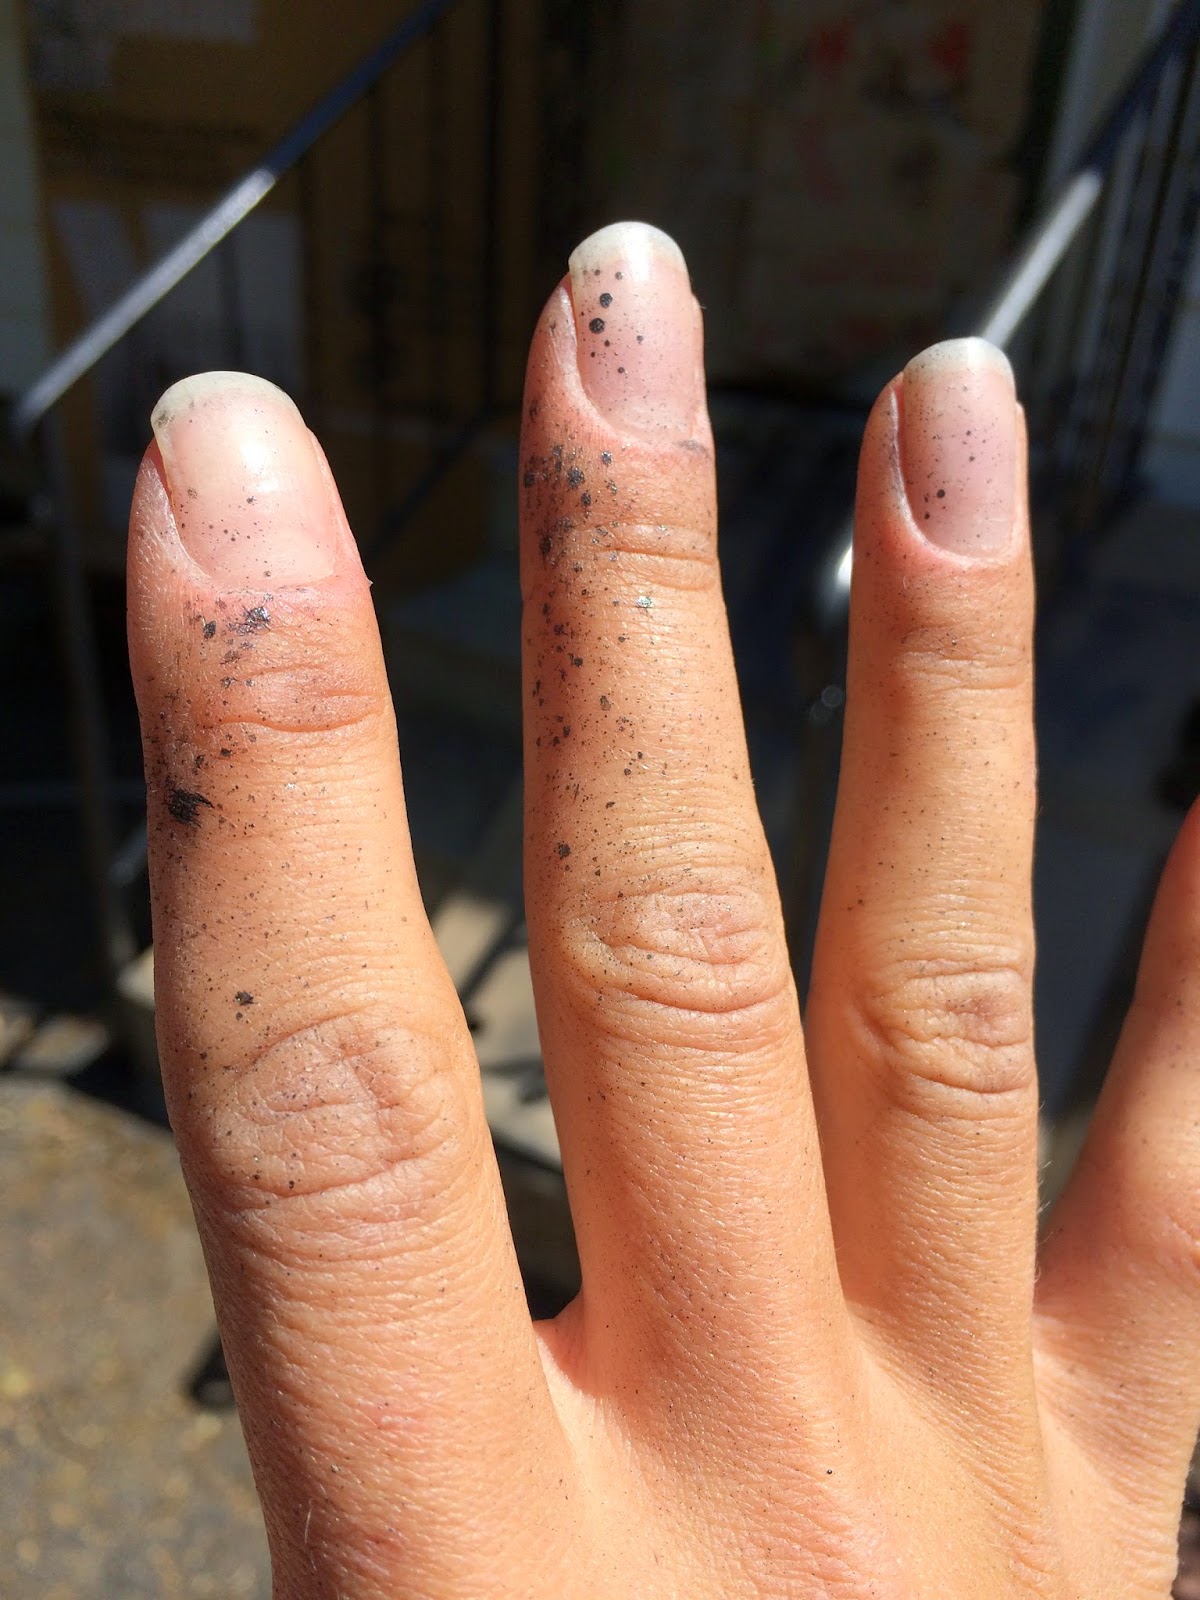
Even so, the overspray was ridiculous. RIDICULOUS. Like, shot four or five feet ridiculous. Got all over my hands.
 
I've used this paint before and haven't had an issue, but apparently I got two dud cans because the one that made the mess was the can that actually worked. The sprayer in the other one was clogged, so I ended up using the messy one for both cans. (I pried the top off the first can and put it on the second. Sometimes spray paint acts up; it's not terribly uncommon that I end up having to swap out nozzles to get something to work.) Yay...

I'd probably use it again at some point but I'd want to test it in the store before going home with it. Not really fun to have to take a bath in mineral spirits to get the paint off your arms, hands and feet, and then have to scrub the side of the house with mineral spirits too. Five feet of overspray? Come ON. How was I supposed to prep for that?
But it did come out looking really nice. The black is crisp and because the finish has a little texture in it, it hides the unevenness where the paint partially flaked off the railing.
I'm still getting used to the shininess of it, too. It's been dull and awful for so many years. Still kind of a lot to tackle on that side of the house. Bit of white touch-up painting, paint door (white? Black? I feel like it should be something fun but I'm not sure what.), and I'd love to add a window box to brighten things up.
But there's always another project left, right? In the meantime, look, shiny! And not orange. And that's almost always a win.

Wednesday, April 29, 2015

Phase 2 of Pool Updates

I finished up a project earlier this week that I was expecting to be a lot more intensive than it turned out to be. About two hours of thorough scrubbing and two or three of application took the pool from this...
To this. 
Go ahead and focus just on the formerly pink coping around the edge. Wait, I conveniently have a closeup for you, in case you forgot its pink awfulness. 
A few weeks ago, I was at Home Depot browsing around the paint section and had this brainstorm: what if we stained the coping? We'd talked about redoing it, but it was going to be too expensive with the other little pool plumbing update we'd decided to do at the advice of the resurfacing company.

So I launched into researching Behr Semi-Transparent Concrete Stain.  Lot of super mixed reviews, but people mostly loved it or hated it, which told me some people did kind of a crappy job prepping or selected a surface that wasn't a good fit and thus hated the result, and some people did a good job prepping and picked a good surface and liked it.

I was pretty sure our very rough, very weathered and very porous coping was a good candidate. The "water drip" test confirmed the surface was open (the dripped water absorbed immediately). I figured that literally anything would be better than the pink, crossed my fingers it wouldn't flake off in three months leaving me with a huge mess and went for it. Here's my review of Behr's concrete stain, at least so far.

Before on the left, after application on the right in the photo below.
After some discussion, we ended up selecting Sunbaked Clay as the stain color. I tried that the day before and wasn't thrilled with the color, since it came out warmer and pinker than I was hoping. You can actually see a tiny bit of it in the image above, on the bottom right corner of the pink block. It's warmer than the end result. I took the can back and asked them to add some gray or green to dull the color and cool it off, which had very satisfactory results.

Lemme tell you, it was pretty fun very carefully working my way around the deep end hovering above that swamp. I'm glad those boards were nice wide 2x12s, which were left from the tile job.
You can see that the stain didn't absorb immediately all over. I think this is at least in part due to the inconsistent weathering of the coping blocks, the original surface of which was mostly long gone but inconsistently worn. I also opted to use a throwaway chip brush to paint instead of rolling; the roller felt like it was applying too much product and seemed like more trouble than it was worth. I had to cut around the edge of the tile grout anyway so the brush was more efficient.
But by the time it dried (left, vs. just-applied on the right) it had soaked in very well and the color dried down some. The texture was just like it was before I stained: pretty rough and not slippery or finished-feeling. I like how the texture of the material comes through. It's exactly what I was hoping for when I went with the semi-transparent over the transparent stain.
This is a spot where the stain took inconsistently. I think for some reason the old original finish of the coping was left around the crack and in those pink speckles on the right and bottom of the image below. Hardly any of the coping had that smoother texture, and given that I have no reason to believe the coping was ever replaced in the 50-some years the pool's been here, I think it just wore off years ago.
 Again, more inconsistent absorption.
 On the whole, I'm pretty happy with this. It was $25 for the gallon, which I used about half of. Even if I had to redo this annually, I would still be satisfied. We'll see how it wears for the summer, with some traffic and water and chlorine and lots of sunshine.

A lot of the reviews I read commented that it wasn't stain, it was super thin paint. My opinion is that I might call it paint if I were applying it to a less-porous surface; I can see how it would sit on top and not sink in. But given how rough my surface was and how readily it sucked in anything liquid, it sure acted like a stain to me. It's latex/acrylic, not oil, so it's different than a wood stain, but I still think it acted more stain-like than paint-like.

I'll report back again (hopefully next year at the earliest) on how it's wearing. I'm optimistic for a good summer on it, but we'll see.