Fueled by this spectacular breakfast (3.5 slices of applewood smoked bacon, scrambled eggs with green onion, spinach, one slice of muenster and crumbled syrah-soaked toscana cheese and a sourdough English muffin) I unleashed Christmas on our house today.
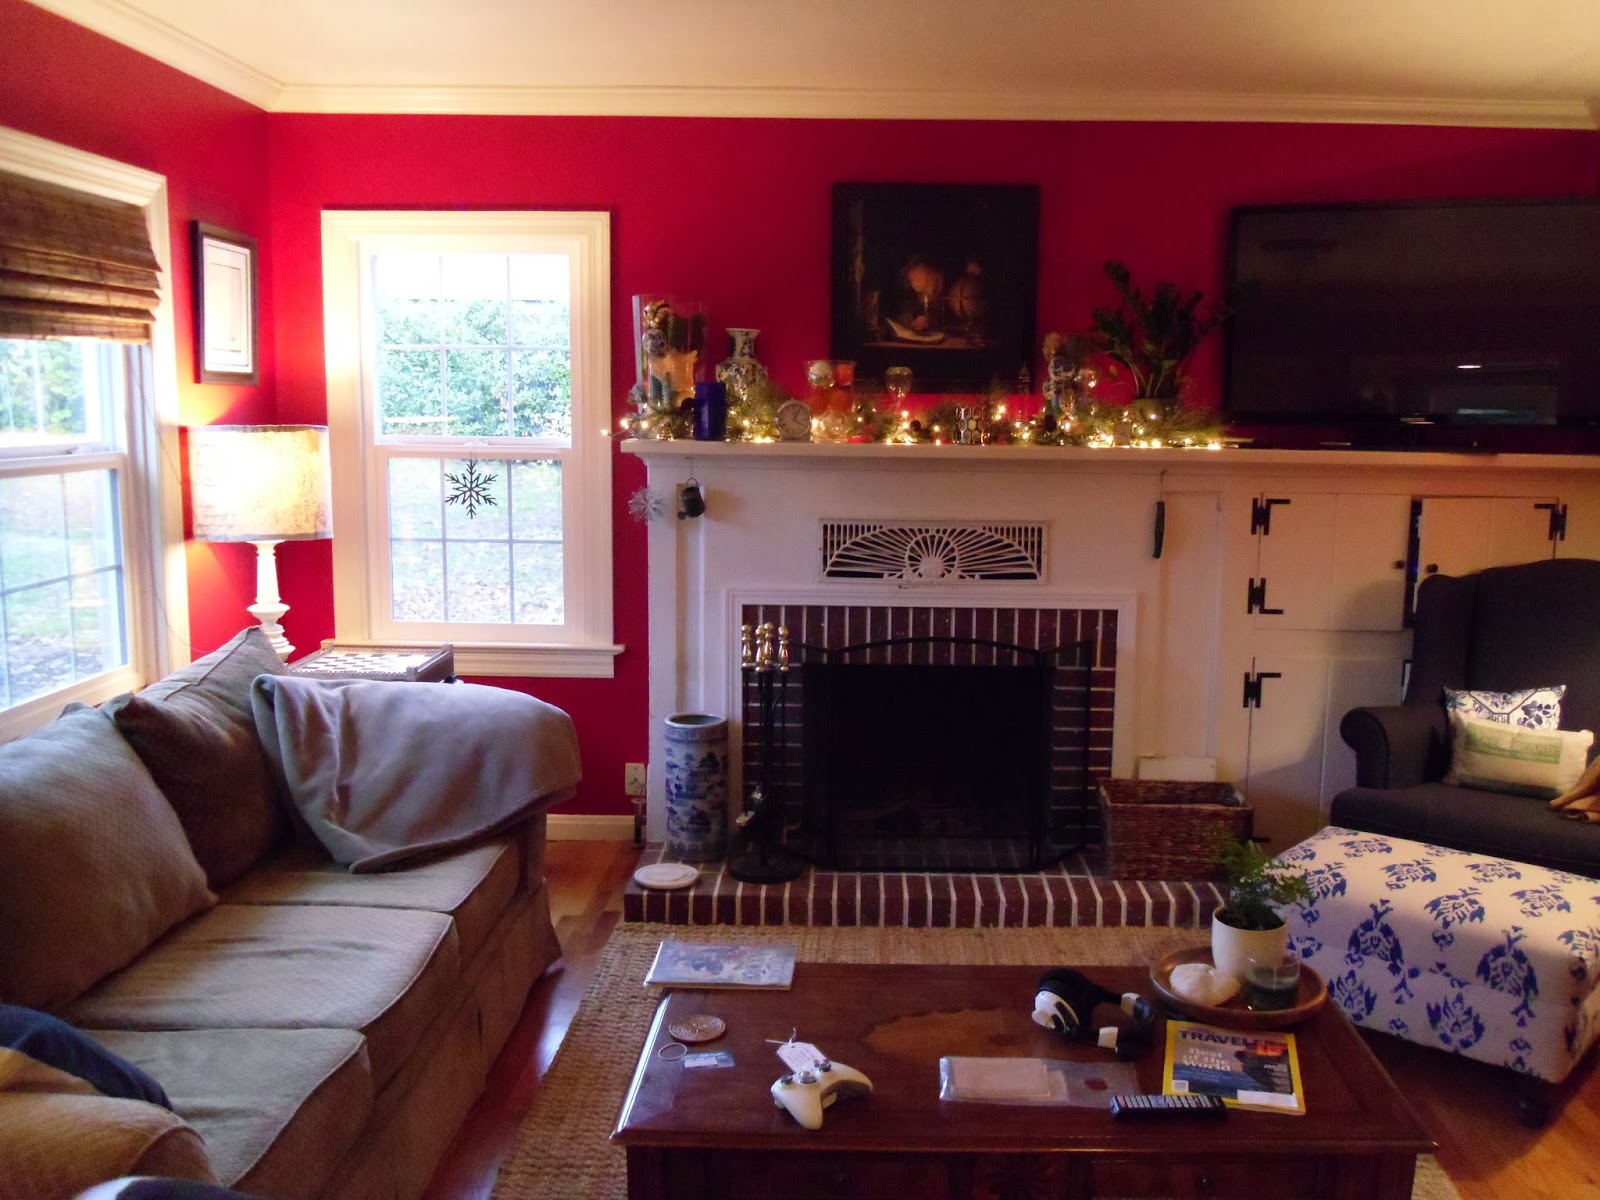
I got going on the living room yesterday and put up the mantle garland, which actually looks kind of blah in this picture. (The red walls though, wow.
That is why we painted this room red.) Oh well, plenty of time for more pictures later this month!
Entry console with the very wrinkled scarf runner and festive ornaments. Since we're not doing a tree this year (that's the sixth year out of eight we've been married and haven't had a tree, usually due to travel, but twice due to moving) I put ornaments all over everything else. Most cabinet knobs have something, as do a few windows and some random hooks that are...around.
I just got these acorns into this hurricane and got my two pieces of fall decor in place, so I don't exactly want to give them up so soon. So, I Christmased it with an ornament. (See, ornaments everywhere!)
The pumpkin stays put, at least for a little while. This little vignette is in the dining room.
I know last year I called this the "Christmas kitchen" but this year it really is. I am feeling more clever than I should for thinking of putting rigid foam insulation on top of the cabinets so I could put stuff up there. (The crown sticks up a few inches, so things hide behind it and are too low to really see without any boost.)
That little wood sign is kind of kitchy and says "don't get your tinsel in a tangle" -- a good reminder from the elves at TJ Maxx ;) There are also some great pinecone balls with sparkle up there... Think I need some more up-close pictures.
Command strip kept me from putting a hole in the fridge panel, so the wreath can come down in two months without requiring a patch job.
I am most proud of the garland on top of the fridge. Placing it involved me, Todd, an extension cord, two coat hangers, one of my long clamps and miraculously no pinched fingers. The cord is very snugly run down from the top of the cabinets, down the side of the fridge and into the outlet in the back of the pantry cab. I then put it on a timer, so the lights switch on and off automatically (this is one of my favorite tricks for Christmas lights that always seem to be plugged into inaccessible spots).
Bonus: the insulation rigid foam insulation I used to boost the top-of-cabinet decor above the crown molding has a shiny foil side, so it helps reflect the little lights even more! (The crown is nailed to the top of the cabs, so everything hides behind it unless it's on top of something. In this case, I cut up a 4x8' sheet of foam insulation, which is very light so it doesn't put a bunch more weight up there.)
I finally got a rug for the entry. That's the good news.
It's also good news that it looks this cute for the holidays.
Not good news: the door only opens this far with the rug in place. Thank you, non-level floors. I'm working on a solution for this, but it involves swapping out the door threshold and removing the sweep (the rubber thing on the bottom of the door that insulates). This is not exactly the sort of project I want to be experimental with.
This "rug" was just a piece of gray low-pile commercial carpet I ordered from Home Depot. I'm eventually going to paint a pattern on it so it doesn't
look like a piece of low-pile, high-traffic commercial carpet, but for now it's just that. It looks pretty good, considering I haven't even added any binding to it yet.
Back to the dining room for an awful picture of my pirate nutcracker camping out on top of the china hutch... (We still don't have a working light fixture in the dining room, so it gets really dark.)
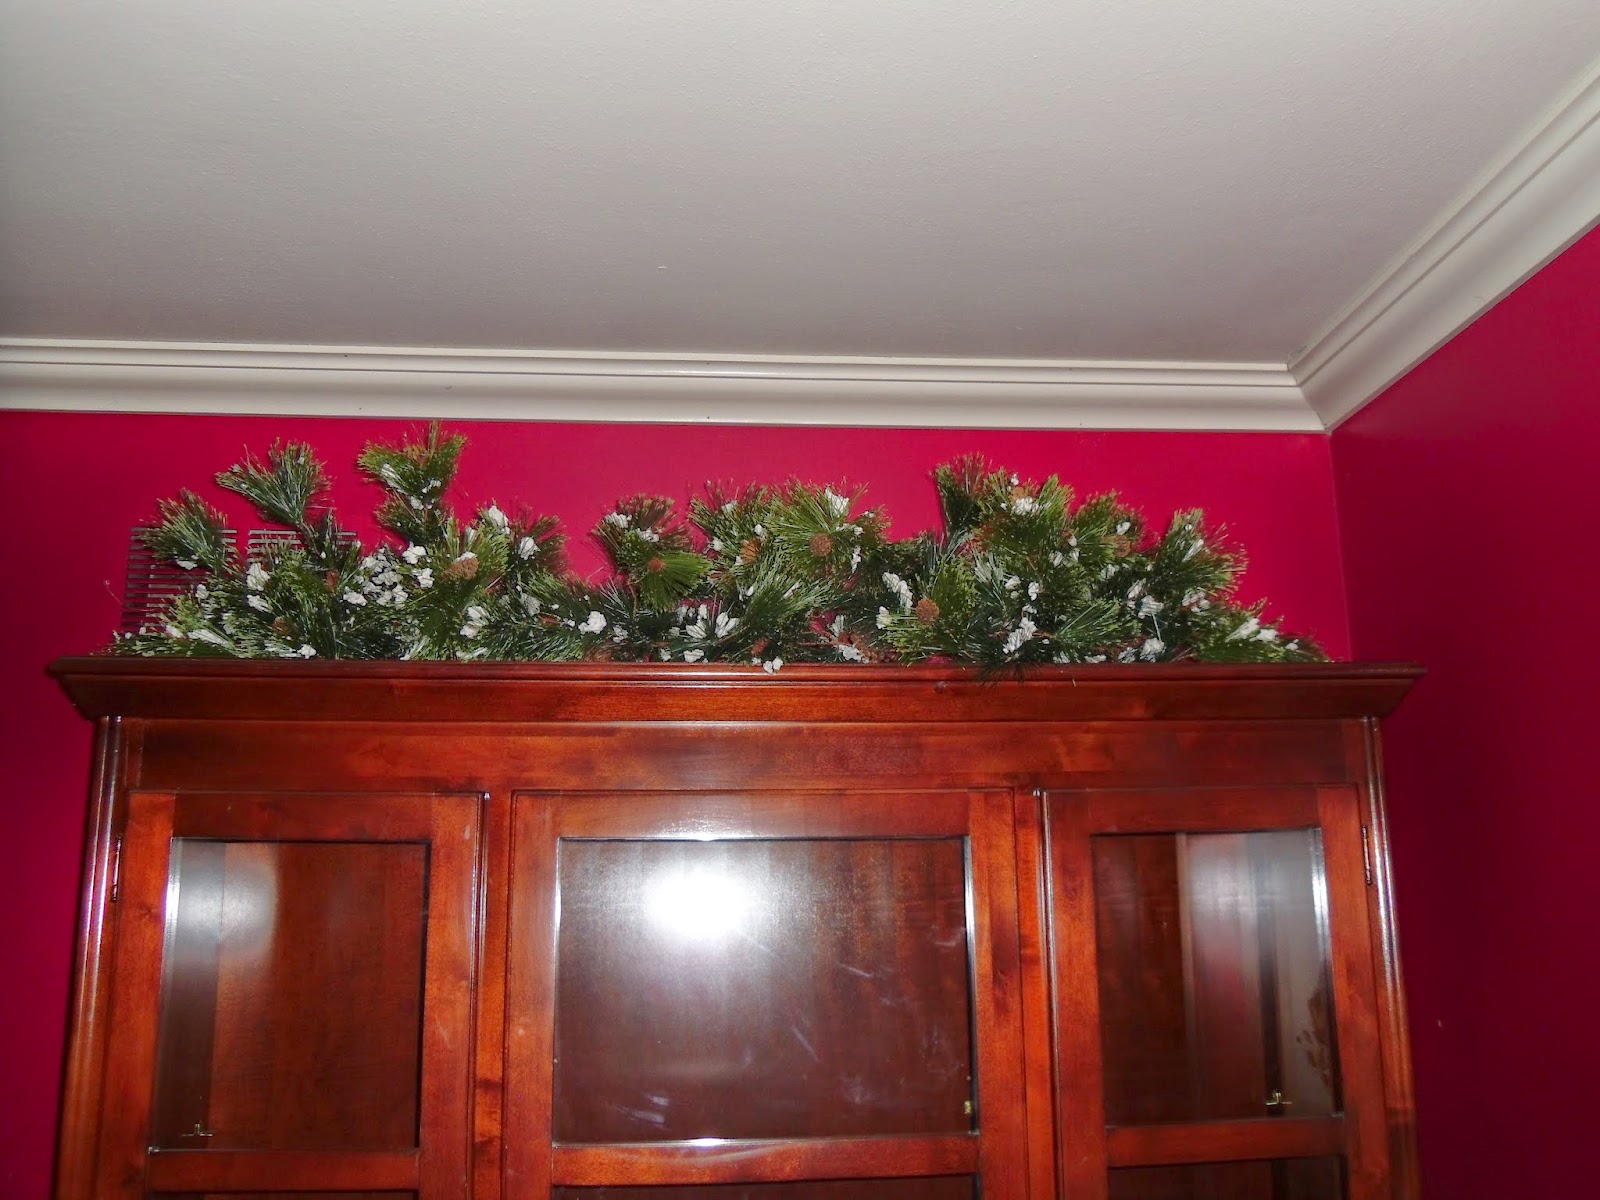
And another bad picture of a lovely garland on top of the cabinet in the living room. Exciting side note: I ordered glass shelves for this (finally) so I'll be able to start using it and not just piling fragile things in there.
And there you have it. Christmas 2014 at Casa McShoe.
Update: the pictures were bothering me, knowing you couldn't enjoy the full Christmasy awesomeness, so here are some better ones!
No Christmas is complete without a bowl of ornaments...
Or two pictures of said bowl.
Ornaments everywhere. Except on a tree.
And the tops of the kitchen cabs, up closer...