Thursday, June 5, 2014

Pool shack rehab

How cute is the pool shack these days with the lights?
The "chalkboard" (old door from the attic access off the guest room) has a line from Tip It Back by Florida Georgia Line. Still a bunch of pool-ish clutter around, but the pool itself is almost cleaned up. Todd's worked so much on getting it spiffy. Sparkling and clear!
Please note massive haul of cherries (this is perhaps half) and knife magnet that I successfully installed a couple weeks ago. Drilling through tile is STUPID and the two holes took me 30+ minutes each to drill. Like I said, stupid. I am, however, thankful that I didn't break any tiles and the knife magnet hasn't fallen off. 


Monday, June 2, 2014

Hardware and cherries

Trash dresser's cousin got hardware installed last weekend, and I love it.
 It's kind of a blocky, modernish shape. Dark finish. The best part is opening and closing drawers and how much easier it is with a handle. Also, lesson learned, when you're filling holes in furniture, use wood filler and not caulk. Four coats of caulk in and the holes from the previous hardware were still visible. Wood filler dealt with them in one swipe.
Todd's dad came and tilled the weed forest garden a couple weeks ago too. We planted annual rye grass in the non-bedded section and won't be growing much this year, other than a few determined dahlias that sprouted again after two years of not being dug up and split. Five tomato plants are in the bed and two basils are in the back entry waiting to be planted. 
 You remember our plumbing project? And how I said our pipes were made of concrete? Welp, that's one of the pipes. You know what pipes aren't supposed to have? HOLES. That is like Swiss cheese pipe. Glad this project is drawing to a close.
 This is from Friday night at the farm/winery just up the street from our house. 7 minute walk, perhaps. I will be probably blabbing more about them in the coming weeks. Perfect place to spend a Friday evening.
 Our first round of fruit ripened earlier this week: the cherries. It was a lot of work keeping the birds out of my cherry trees this year, but mission accomplished. We netted the trees and then I put some stuffed animals out (rabbit, lobster and bear) to deter would-be thieving birds from making off with the goods.
 Of which there were many. Last year I saw the green cherries, and then a few weeks later went out to check on them and there was no trace of any cherries at all. I was later told that birds will clear the tree within a day if certain measures aren't taken to fend them off. This year, said measures were taken and we filled two huge mixing bowls with our spoils, and they are yummy.
 Sadly, we lost one of the apple trees (Todd's Red Delicious) from last year. Kind of weird because they should have been established, but anyway... My Macintosh has a pretty lot of apples on it, which is the first year we'll be getting fruit from it. Only one of the peaches has peachlets on it right now, but one tree full of peaches is better than zero trees full of peaches, so I'll take it.


Thursday, May 15, 2014

Kitchen Backsplash + Trash Dresser's Cousin

Trevor was finally able to get the kitchen backsplash in over the last few weekends. 
 White subway tile and white grout.
 We were a little concerned that the white wouldn't look quite right with the off-white cabinets, but it's fine.
 At least, it's not bothering me. I can't believe how much it snazzes up the kitchen. I knew it'd be nice to have it done, but I didn't realize how much of a difference it'd make.
 AND! Acquisition from a couple weekends ago: a hideous free dresser off CL. It is uncannily similar to "trash dresser," a dresser I saw in the trash on my way to work a few years ago and drove around the block to collect. I stuffed it in the back of my car, where it remained for a few weeks because we had nowhere to store it. (We were still living in the studio in Bend before moving to the Fishhawk house.)

Anyway, still waiting for the hardware for this one to arrive: an oil-rubbed bronze modernish style. I rehabbed it a couple weekends ago and went with the same painted bottom, stained top approach as the one that's in the dining room. I figured it looked good, so why reinvent the wheel? This fits in the laundry room way better than the other one and provides a lot more storage and surface area. All our shoes are in the bottom four drawers, so no more tripping over shoe piles. Love it.
 Trevor also cut slate and installed the backsplash in the upstairs bathroom. Great to have that finished and checked off the list. It looks fantastic. I love how that bathroom came out.

Sunday, April 20, 2014

Doors upstairs, etc.

I remembered that I don't think I ever noted the doors are on the guest room, guest room attic access and upstairs bathroom. Still no hardware, which its own pickle because all the hardware in the house is antique and the holes back then in doors were apparently much smaller than they are now. So everything is too tiny for the door holes, even though I went to the trouble of salvaging everything.

One day a few months ago, I was sitting on our pile of mattresses that was in the storage unit guest room, eyeballing this opening. (It was before the 2x4 was across the top, so it was just a funny-shaped hole. I was trying to figure out if I should order a giant-sized custom cabinet door and figure out how to affix it to the opening to cover our lovely storage area. (Actually it is lovely, compared to how it was. It's all drywalled and insulated and non-spidery. But that's not really the point.)

In the course of my eyeballing, I noticed it seemed to be rather wide. Like, normal-door wide. This sparked an idea. What about a real door? So I leapt up at a speed usually reserved for when I'm motivated by chocolate or alcohol and snatched the nearest tape measure. In our house, that's usually within about five feet. I think they breed in the closets when we're not home or something; I have no idea how we have so many. Anyway, a quick measure indicated that the opening was 28 inches, which I was pretty sure was a standard door size.
Lo and behold, it mostly was!! Now usually you have a rough opening of X and a door that is X-2". This, however, would have meant a bit of a tight squeeze and I didn't want to lose out on as much door width as I could get, so I just went ahead and jammed a 28" door into the 28 and 1/16" opening (or whatever it was. There was a decent amount of violent hammering involved to get that thing into place.)
This was after I sawed off the bottom 30 inches so it was short enough. I won't say it's the prettiest door hanging job, but for my first try, I can say that 1) it opens, 2) it closes and 3) it doesn't even really scrape the floor despite being so close to it. I call it a success. Plus, SUPER cheap. I bought the cheapest door Lowe's had with intentions of trimming it out so it's a bit shaker looking and matches the other doors.

The triangle gap above has already been patched and partially mudded, so that's going away soon too. As for a door handle, I put a little magnet closure thing in and have a plain cabinet pull I'm going to install. There's not really a need for a knob, and obviously the hole is dysfunctionally low.
 Ah, the door on the guest room. Yay!
 And on the bathroom, from the inside. They look pretty good! A little bit of trim will help them almost perfectly blend with the original doors of the house.


Thursday, April 17, 2014

Kitchen Befores and Afters

So to be fair, the kitchen is not yet finished. In fact, relatively little progress has been made on the detail work I mentioned a few months ago. I've done some priming, but there's still caulking, sanding, more priming and plenty of painting yet to do. Although I have to say, using the same color on the trim as the walls seriously cuts down on time for painting.

In any case, I was poking through iPhoto trying to find a picture of my credit card because I was in the process of ordering a watercolor print of this squirrel drinking whiskey and was too lazy to get up and get my credit card. In the process, I ran across a number of pre-remodel kitchen pictures and was reminded that I never actually did a true before and after post of the kitchen.

Behold: the chaos, the dysfunction, the grime of our old kitchen. (I feel like it still hasn't been long enough for me to be able to look at these photos. It's kind of making my skin crawl.)


I can barely look at this without gagging. UGH.


I think these totally speak for themselves. Still work in progress, but still.

Additional happy news: our backsplash may go in as early as this week! It's 2"x4" white subway tile and we decided on aggressively sealed white grout. Todd held up a sheet of it (it comes in pre-set sheets) and I think it's going to look amazing. So there'll be more pictures of that coming someday soon.

Monday, March 31, 2014

Holes in the Walls

First, my big-ish project. See that mirror? I built the frame :) I finally (embarrassingly) got around to watching a video on how to properly use my Kreg Jig that I got a couple years ago and discovered (rediscovered, because I haven't built anything in quite a while) how ridiculously easy it is. I should take some close-ups, but that frame is perfectly square, level and sturdy. My skills are improving. Also, the mirror has been in there for over 24 hours, which is my "we're safe, project isn't going to fall apart very loudly."
The mirror was from the upstairs bathroom and it measures 29 7/8" wide and 60" tall. Pretty good size. I was originally going to frame it in 2x8s, but I couldn't find kiln-dried ones at Lowe's or HD, so decided on 1x8s. More expensive, but resulted in a somewhat lighter piece. Anyway, I LOVE it, Todd is tolerating it, and hopefully it will reflect more light into our rather dark living room.

This was my b-day present from Todd. It's a super-awesome mini drill. It came with two batteries (!!!) and is extra torque-y. I love it. It's not as torque-y as my electric drill, but they each serve different purposes. Plus, more portable. My other cordless drill Dad gave me in college finally bit the dust, after about 5 years of the battery being left on the charger 24/7 because otherwise it was always dead, and it's just easier to do stuff if you have two drills going. (One for pilot holes, one for screwing stuff in. Obv.)
This was a b-day present to myself. (Not the bucket.) It's a Bucket Jockey and it holds my tools portably so now I don't have to leave a trail of screwdrivers and drill bits and other stuff through the house when I'm working on projects. It has TONS of nifty little pockets and compartments and a holster for my drill and spots for bits and pencils and tools and earmuffs and and AND... I love it.
What post about putting holes in walls would be complete if I didn't include at least one unnecessary hole? (Answer: You'd know I wasn't the one doing the drilling if that was the case.) Anyway, someone was industriously hanging keyhooks and neglected to consider how there's not only a 3-inch drop from the screw to the bottom of the hook, but keys also hang down from the lowest point below the screw. Anyway, you can see how the hole in the middle of the two hooks, which I'd planned on hanging the lower hook, was way too high to not have the top hook's keys overlapping. That probably makes no sense. It all resulted in me having to pry an anchor out of the wall, so at least it was fun...
This is what I've got going on top of the "china hut" these days. It's a moss ball in a terrarium on top of a vintage suitcase acquired from my grandparents' basement, next to that orange thing that I love but can never seem to find a home for. This still looks disjointed to me and obviously the photography is top-notch, but one step at a time.
 This is the other moss ball I made earlier in the month with my pickings from the woods on the way home from Bend. It lives in the cloche (below). I used a mix of moss varieties for this one; some hunks even have a bit of lichen still growing. I didn't mess with the ones of the picture at all. It's really that intensely green. UH-mazing.
Here it is in its home on the dining room table. I let it breathe once a week or so and give it a good soak in the kitchen sink every few weeks. We'll see how long it and its friend last, considering I re-used wet floral foam that had dried out, and you're not really supposed to do that. What can I say? I live on the edge.
So anyway, that's what's new. 

Sunday, March 9, 2014

Stairs and other projects

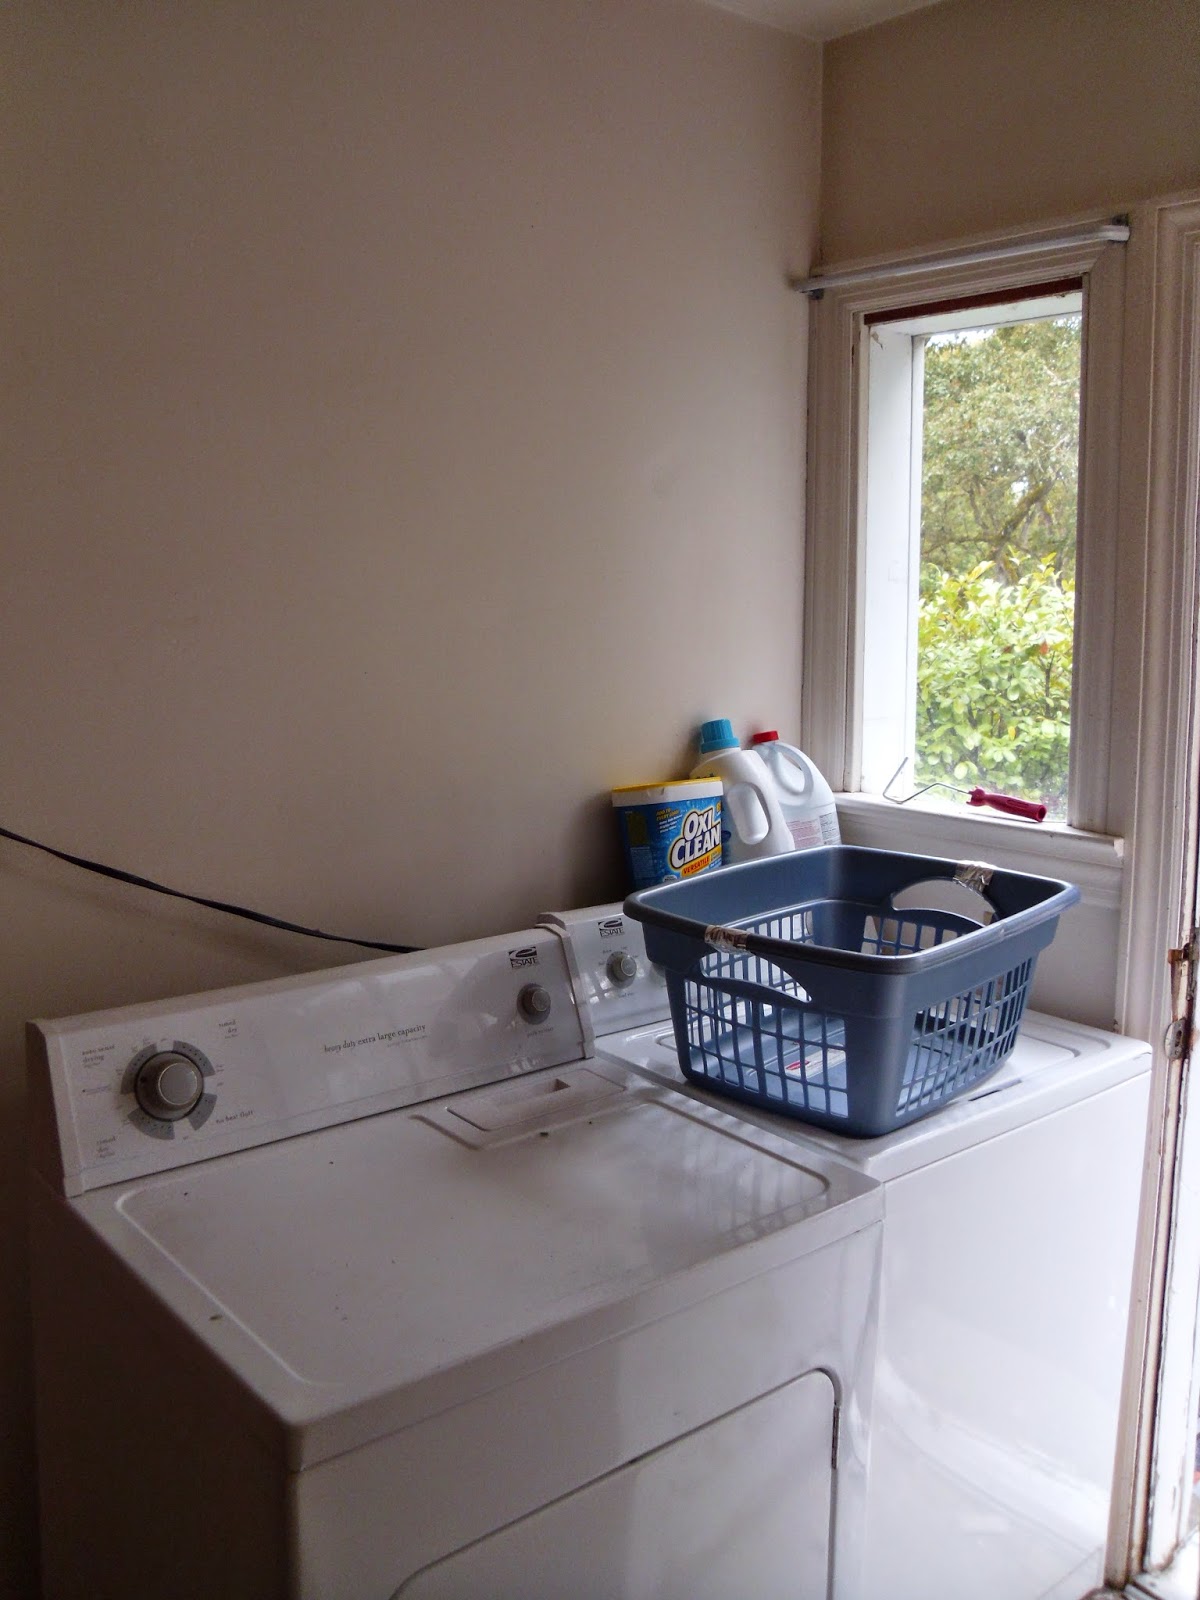
Following the kitchen remodel, I was kind of over house stuff for a while. We've worked on a number of projects, including, but likely not limited to:

  • mudding Todd's office
  • plotting a plumbing project
  • finishing the upstairs bathroom and guest room for friends to come visit
  • priming and painting the entry
  • priming and painting trim
  • priming the bar counter wall
  • finding, sanding, staining and waxing the bar counter
  • a failed doorknob replacement attempt
  • priming the stair risers
  • adding kitchen hardware
  • cleaning and organizing the garage
I just haven't been feeling like writing it all down. So here's a bunch of pictures. First, some befores of the stairs. They were a rather terrible shade of brown, which I have disliked since the glee of removing the green carpet wore off. That was nearly five years ago. This is the first flight.
 And the second flight.
 Wait, here's a before-before. This stuff was like antique carpeting. Dreadful.
And here's a sort-of after. The risers are just primed, but I think it's a massive improvement. Flight one...
 And flight two. Still to be done: paint risers, finish mudding paneling, paint paneling white so it looks like drywall, paint baluster and spindles. Probably glossy black.
 This is the entry, which I primed and painted last week. Good to have that done. I found that lamp at a thrift store (I dislike them more every time I visit one. The lady told me if the lamp didn't work I had a week to return it, and I thought to myself that I would pay the $4 it cost me again just to not have to go back there). I'd planned on busting it up and using the parts, but then I decided I kind of liked it so instead painted it. It really needs a new shade, but its mod shape is working for me right now. Not working for me: the pile of shoes. Hopefully I can figure out a solution to that.
 Oh, this is an exciting one. After scrubbing to remove dried wood glue from errantly placed corbels and patching tears left in the wood veneer from said corbels, I primed the bar counter wall today. This was before I went to work.
 And after. Still needs to be painted, but it's been a long week. I just laid the counter on top, which I hope doesn't sit in place for weeks on end. I want to finish it one night this week.
 Here's the view from above. The wood is just beautiful.
 Down there at the end is a leftover tuft of moss from my little moss-gathering stop on my way back from Bend yesterday. I love moss. I think it's so interesting and verdant and natural and it has such great texture. So I bagged a bunch yesterday near Union Creek and made some moss balls yesterday. I tried to take pictures, but the low light in the dining room (down to one bulb out of three in that awful fixture in the dining room) was thwarting my efforts. They are enchanting and foresty and fascinating. I have one in a terrarium and the other under a cloche and I just love them.
 In the last couple months, I've continued to mess with the styling of these shelves in the downstairs bathroom. I added that green glass bottle in the lower right corner, found at TJ Maxx, and put fake leaves from Michael's in to balance it.
 The bottle is recycled blown glass and it's all irregularly shaped. Normally not what I go in for, but I really like this.
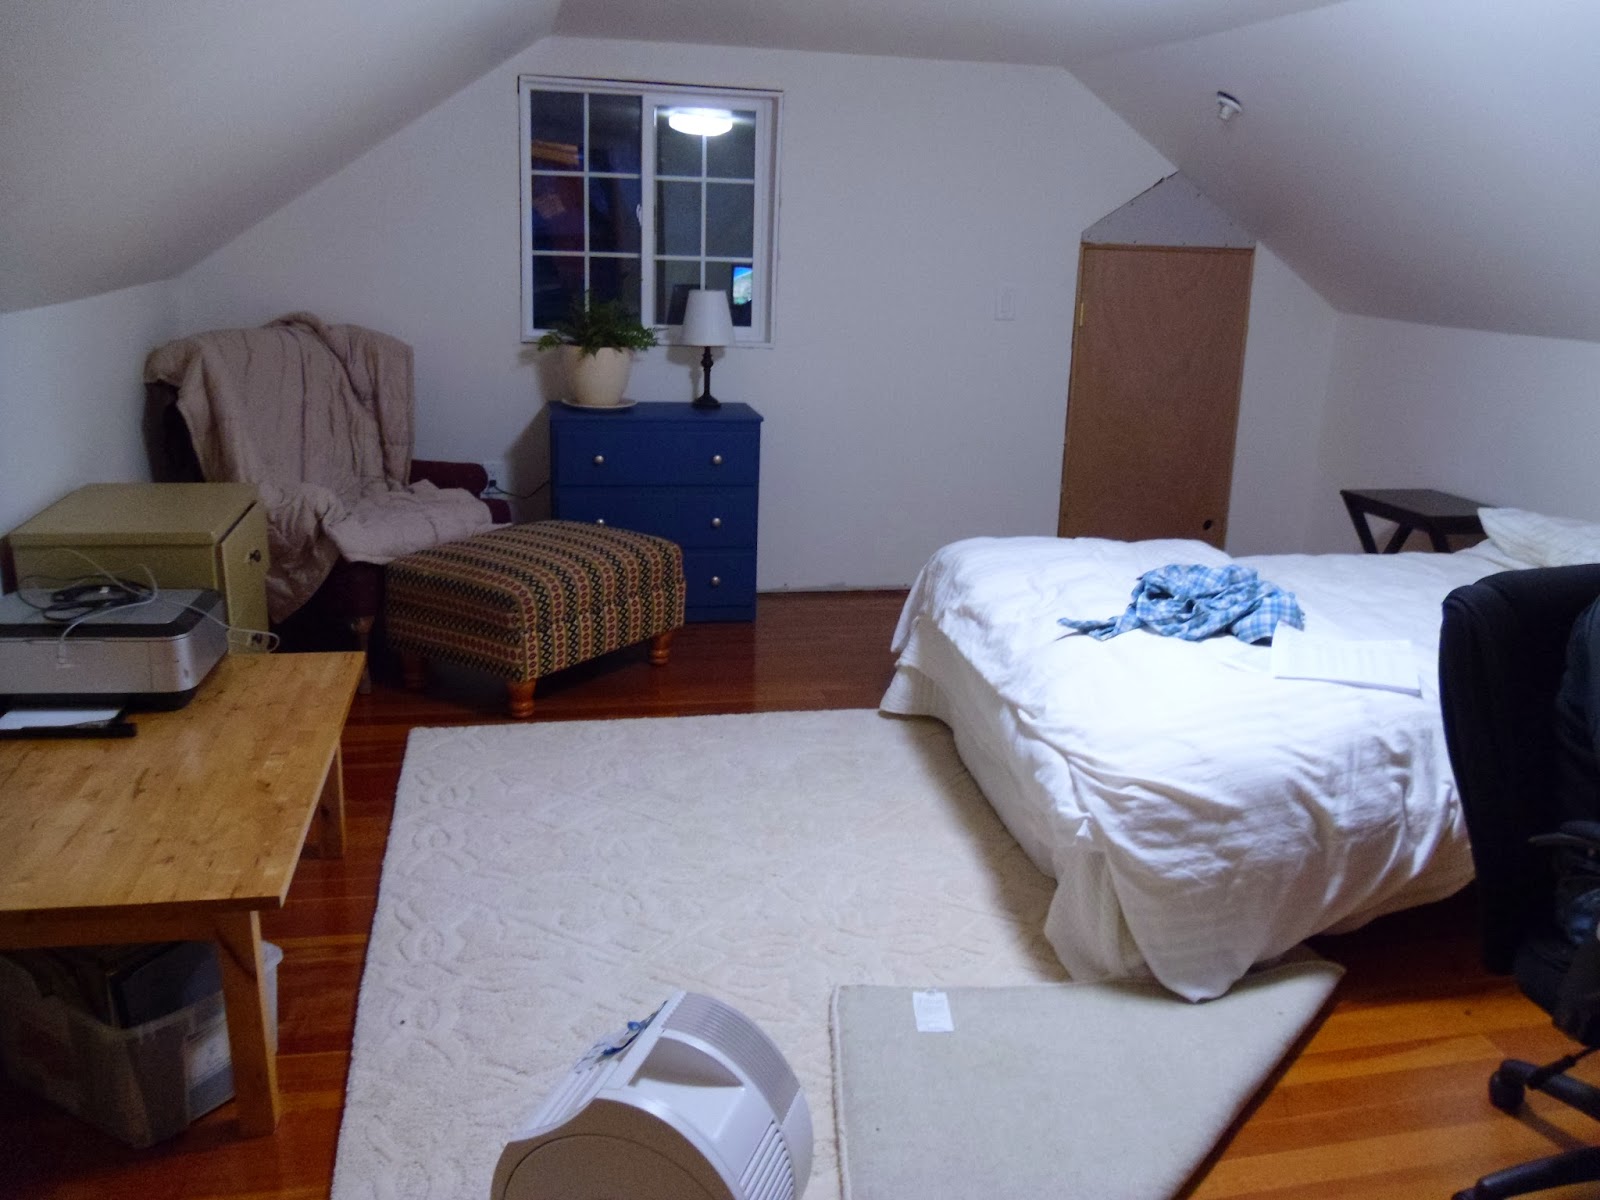
 Heading back upstairs again, we cleared out the hallway a few weekends ago in preparation for some of our friends from Bend to visit for the weekend. I either can't find or don't have befores, but it was awful. You had to hold onto the railing and sort of scoot by sideways.
 Also prior to Kristan and Brian's arrival last weekend, I finally added a transition to the bathroom and patched in the little bit of floor that was missing. Points if you can identify the patched piece. I was going to finish the wood with some poly or something, but I kind of love how it looks against the slate just raw and aged, so I'll probably leave it for a while. I salvaged as much wood as I could when we redid upstairs, so I have a small stockpile if I need to replace it again.
 Here's the guest room. It looks a lot cozier in person, though it is definitely still miscellaneous furniture purgatory. The chair and ottoman in the corner are pieces I snagged a long time ago with intentions of reupholstering. The ottoman will get it this summer. Its twin is downstairs in the living room.

You may also notice the door in the corner. I was eying the space one day, trying to figure out how on earth I was going to make something to close off the attic. Then I grabbed a tape measure and sure enough, it was about 28.5" wide. Just wide enough for me to violently wedge a 28" door into the space, after I sawed off the bottom 30 inches. It was my first door installation, and it totally works!
 One more of the stairs...
 And I found this sign when I was cleaning out the attic a few weeks ago. "This room CONDEMNED by order of the management." Never was a sign so fitting.
Lastly, I will leave you with this. This is a load of old/extra building materials we took over to Habitat. There was a 20' section of pipe, so we had to flag it. The only red thing around was an old oven mitt, which I rubberbanded onto the pipe, and away we went. Watching peoples' faces was priceless as we drove there.